
Planning to give an existing wall a fresh look with texture? One of the first questions homeowners ask is whether they need to remove the old paint before starting. In many cases, texture over a painted wall is possible, but the existing surface needs to be assessed and prepared properly.
The quality of the final texture depends not only on the product or application technique but also on what is underneath it. A beautiful texture cannot compensate for loose paint, dampness, cracks or a poorly prepared wall.
Can You Apply Texture Over a Painted Wall?
Yes, wall texture can often be applied over an existing painted surface if the paint is firmly bonded, the wall is clean and the substrate is suitable for the chosen finish.
However, simply applying texture directly over any painted wall is not recommended. Old paint may have areas that are peeling, chalking, bubbling or poorly bonded. These problems can eventually affect the new texture as well.
That is why surface preparation should be treated as an essential part of the texture application process rather than an optional step.
Step 1: Inspect the Existing Wall
Before any work begins, the wall should be checked for visible and underlying problems.
Look for:
- Peeling or flaking paint
- Blistering or bubbling
- Damp patches
- Hairline or larger cracks
- Powdery or chalking surfaces
- Uneven areas
- Previous patchwork
- Grease, dust or other contaminants
A stable, well-maintained painted wall may require considerably less preparation than an old wall with multiple layers of deteriorating paint.
Step 2: Remove Peeling Paint
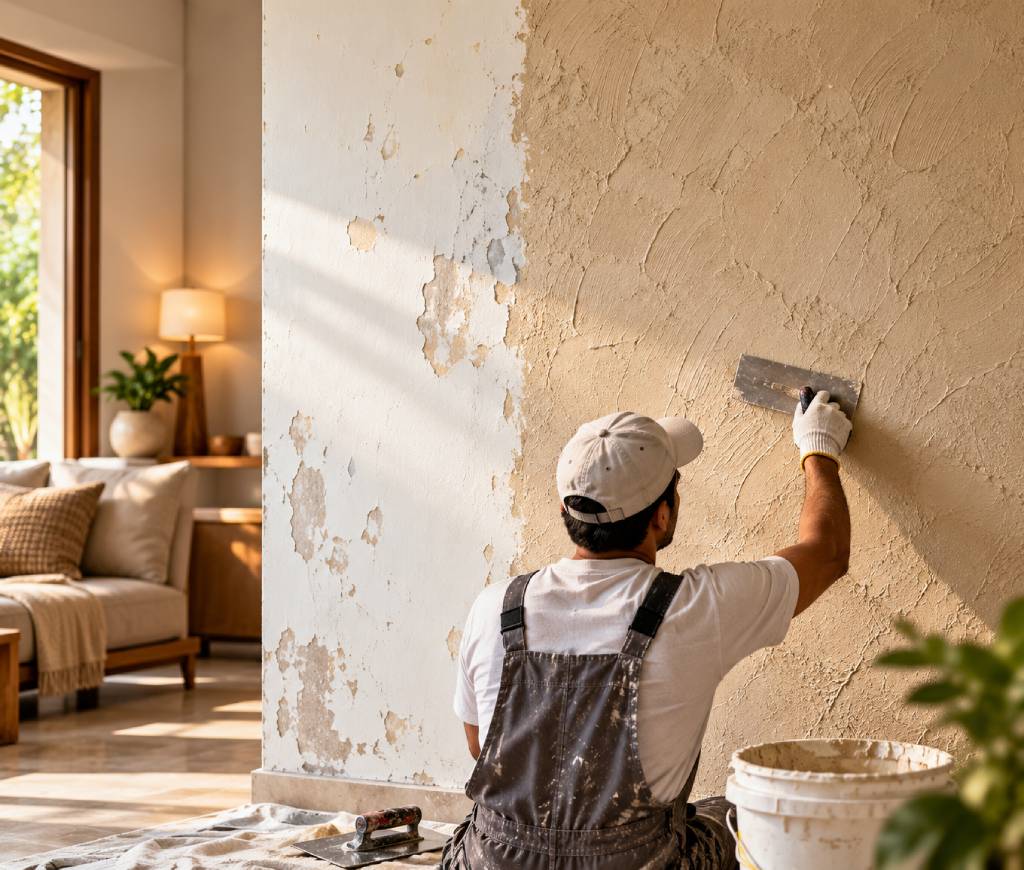
If the existing paint is loose, it should not simply be covered with texture.
Loose sections need to be scraped or removed until a stable surface is reached. Applying a new coating over peeling paint can transfer the same weakness to the new finish. As the old paint continues to detach, the texture above it may crack, flake or come away.
In some cases, extensive paint failure may mean that larger sections—or even the complete old coating—need to be removed.
Step 3: Repair Cracks and Uneven Areas
Small hairline cracks may require suitable filling and treatment before texture application. Larger cracks should be investigated to determine whether there is an underlying structural or moisture-related issue.
Uneven patches, holes and damaged areas may also need wall putty or an appropriate repair material to create a stable base.
The objective is not necessarily to make the wall perfectly smooth in every situation. Rather, the substrate should be sound and compatible with the intended texture.
Step 4: Clean the Surface
Dust, grease, dirt and loose particles can interfere with adhesion.
The wall should therefore be cleaned appropriately and allowed to dry before subsequent preparation. For exterior walls, additional attention may be necessary because surfaces can accumulate dust, pollution, algae or other contaminants.
If there is active dampness or water seepage, that issue should be addressed before decorative texture work begins.
Step 5: Apply the Right Primer
A suitable primer can help create a more consistent and compatible base for the texture system.
The correct primer depends on the existing substrate, paint condition and texture product being used. It is important not to treat every wall as though the same primer will work for every application.
For this reason, professional applicators generally assess the existing surface before selecting the preparation system.
Step 6: Apply the Wall Texture
Once the wall has been properly prepared, the selected texture can be applied according to the manufacturer’s recommended process.
Depending on the product, the process may involve one or more coats, followed by specific techniques for creating the desired pattern, depth or finish.
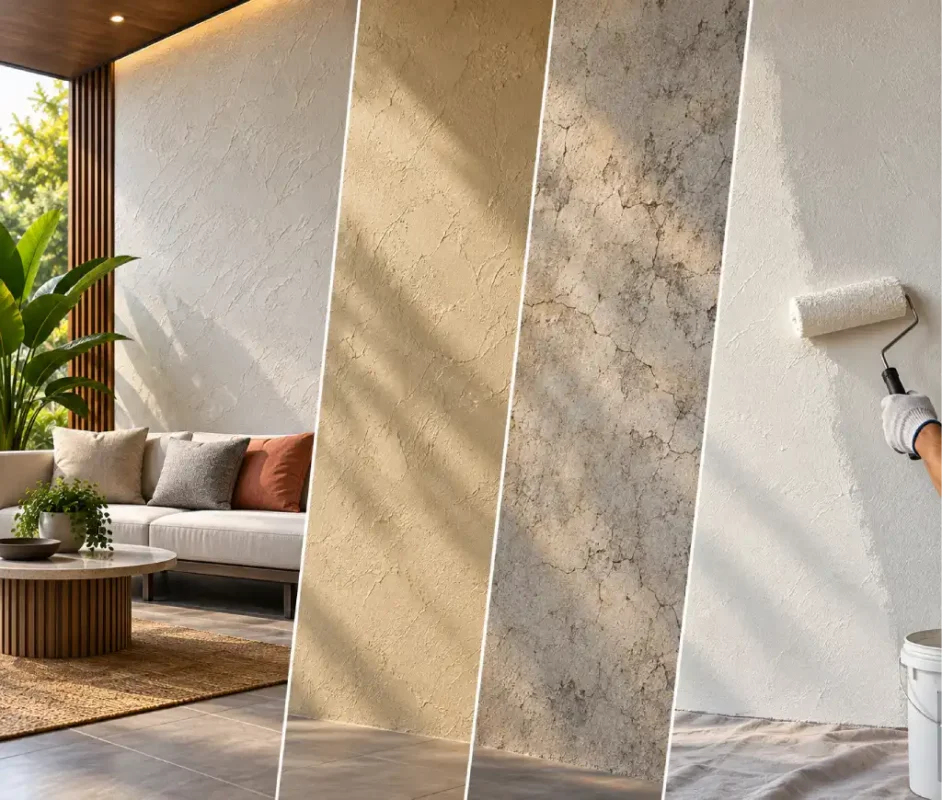
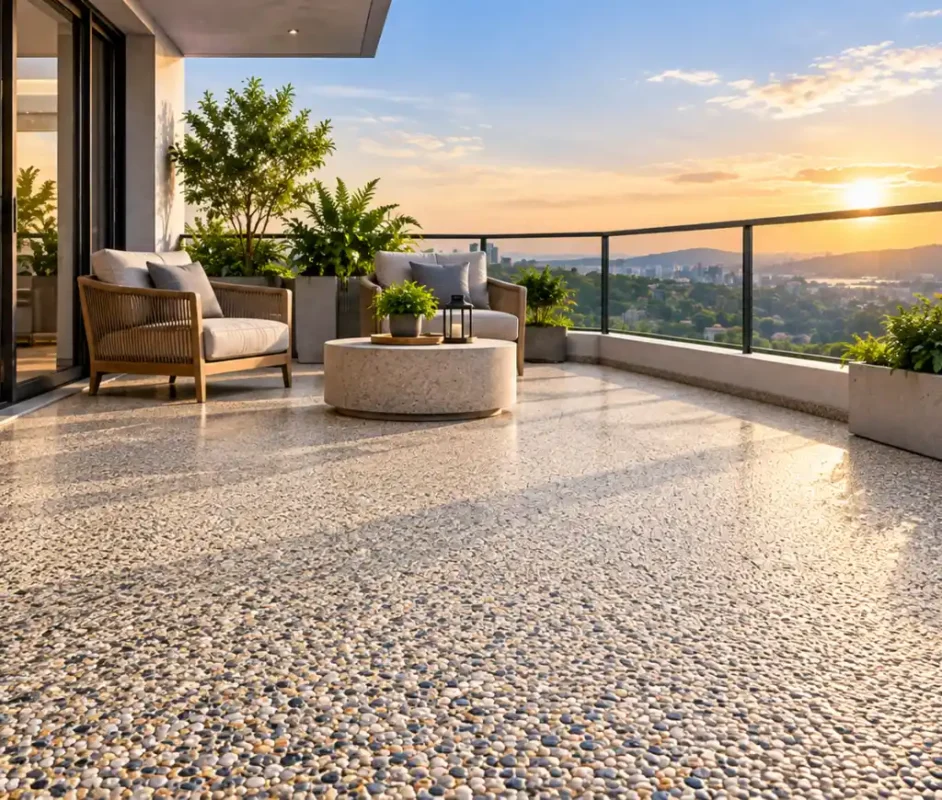
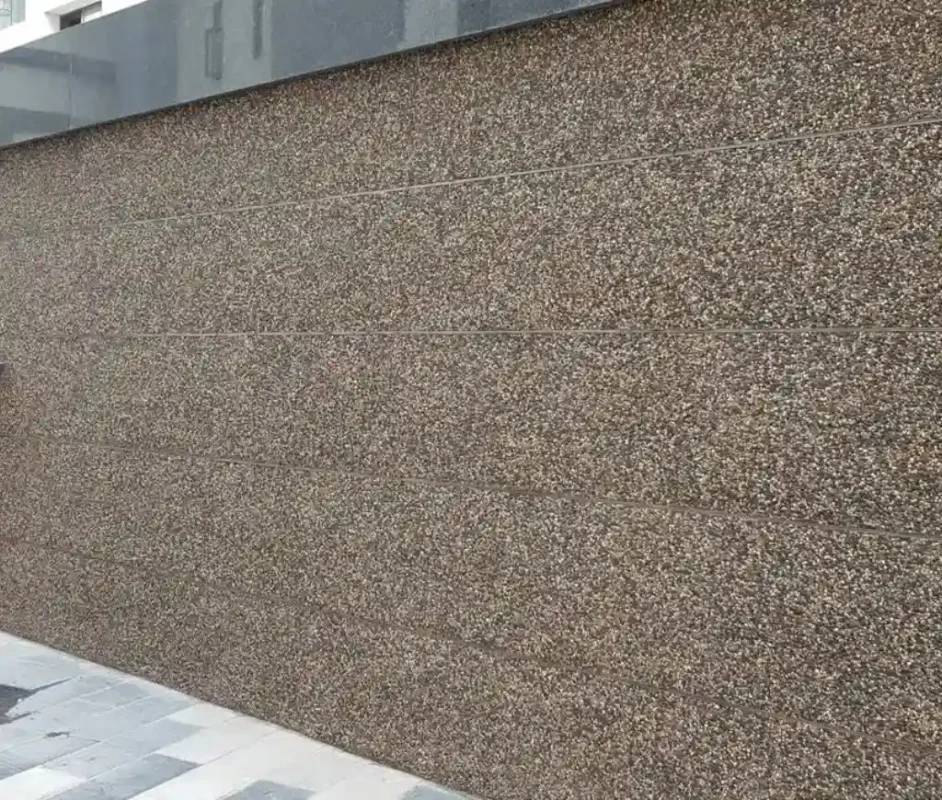
Whether you want a subtle contemporary texture, a rustic finish, a stone-inspired appearance or a more decorative surface, the application technique will influence the final result.
When Should Old Paint Be Completely Removed?
Not every painted wall needs to be stripped. However, removal may become necessary when the existing coating is:
- Severely peeling
- Bubbling or blistered
- Powdery or unstable
- Affected by persistent dampness
- Incompatible with the proposed texture system
- Built up with multiple weak or damaged layers
The decision should be based on the actual condition of the wall rather than simply its age.
Does Wall Texture Hide Imperfections?
Texture can visually reduce the appearance of some minor surface imperfections, depending on the finish. But it should not be treated as a solution for serious substrate problems.
A thicker texture does not automatically fix cracks, dampness or unstable paint. In fact, defects underneath can eventually become visible through the finished surface.
Good preparation remains important even when the final texture is highly decorative.
How Long Does the Texture Application Process Take?
There is no universal timeline because the duration depends on wall size, existing surface condition, repairs required, drying time and the type of texture selected.
A wall that needs only cleaning and priming may be ready relatively quickly. A damaged wall requiring scraping, putty, crack treatment and multiple coats will naturally take longer.
Rushing preparation to finish the project faster can compromise the appearance and durability of the final finish.
Final Thoughts
Applying texture over a painted wall can be an effective way to transform an existing space without completely rebuilding the wall surface. But the success of the project starts underneath the texture.
Inspect the old paint, remove unstable areas, repair cracks, address dampness, clean the surface and use the appropriate primer before beginning the texture application process.
At InstaKrete, the focus is on decorative wall finishes where the preparation and application are considered together. If you’re planning to texture an existing wall, a proper site assessment can help determine whether the old paint can remain or needs to be removed before the new finish is applied.